Network discovery is the process through which computers and network devices able to find each other. It enables network devices over a local network to connect and communicate with other devices. In penetration testing, this progress also known as scanning. It is a method in which the penetration tester use a various of tools to try and find available device connected the network that he manage to tap into or connected. After device is scan and identified, the penetration tester will move to the next step which is information gathering on the target selected or aimed.
In this post I am going to introduce a few tools in both windows and kali linux operating system to perform scanning over the militarized zone which I have setup earlier (if you missed the setup progress, feel free to check out my previous post)
On Windows Operating System Platform:
Tools used:
Solarwinds port scanner
LanSweepers
Solarwind port scanner
Open your web browser (in my case it is google chrome), search for solarwind port scanner, click on the highlighted result
Click on DOWNLOAD FREE TOOLS
Fill in all the necessary information, then click PROCEED TO FREE DOWNLOAD
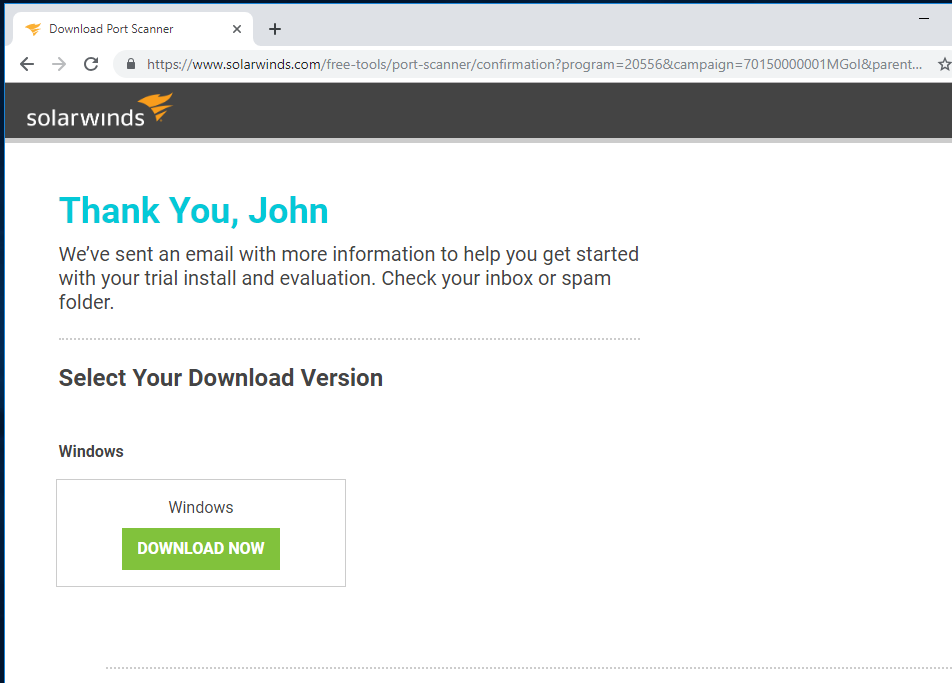
Click DOWNLOAD NOW to begin download
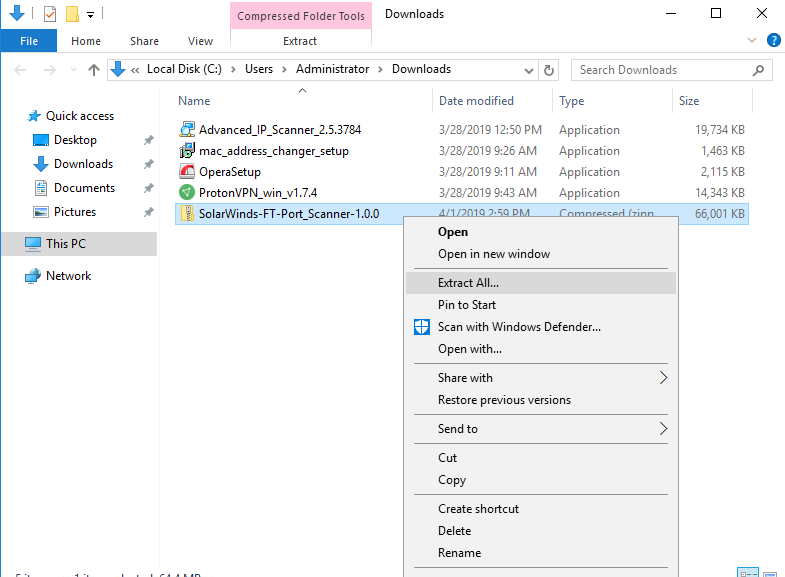
After download is complete, right click on the compress download file and click extract all to extract it with any unzip tools
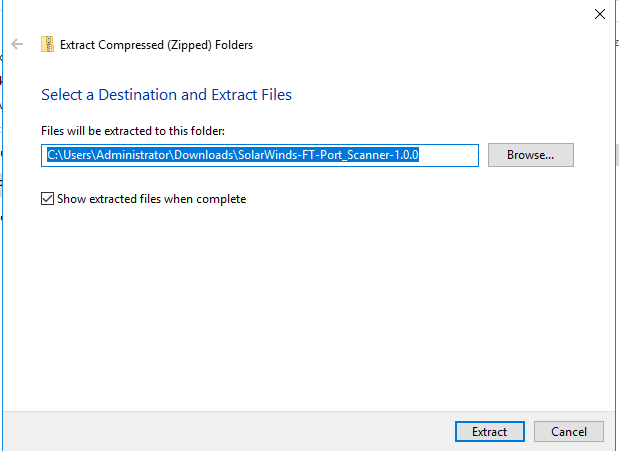
Click Extract
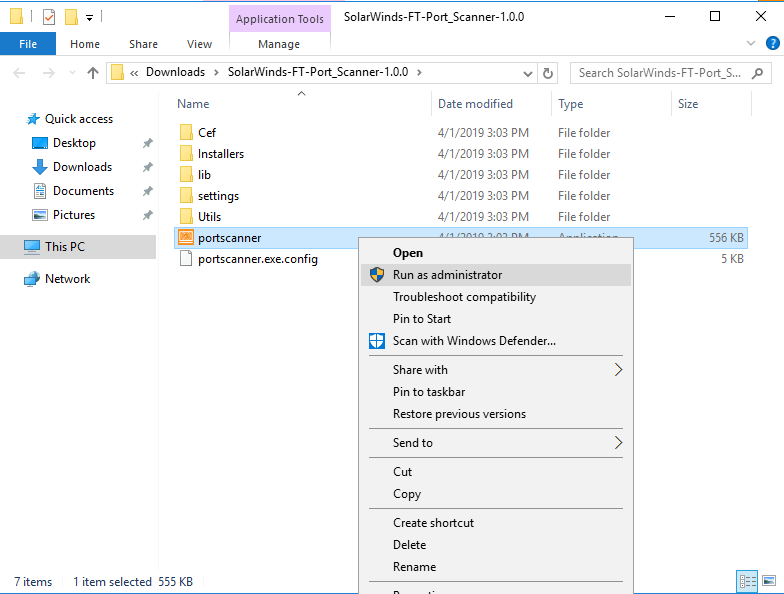
Go to the directory where you extract the file, right click on portscanner application and click Run as administrator to begin installation.
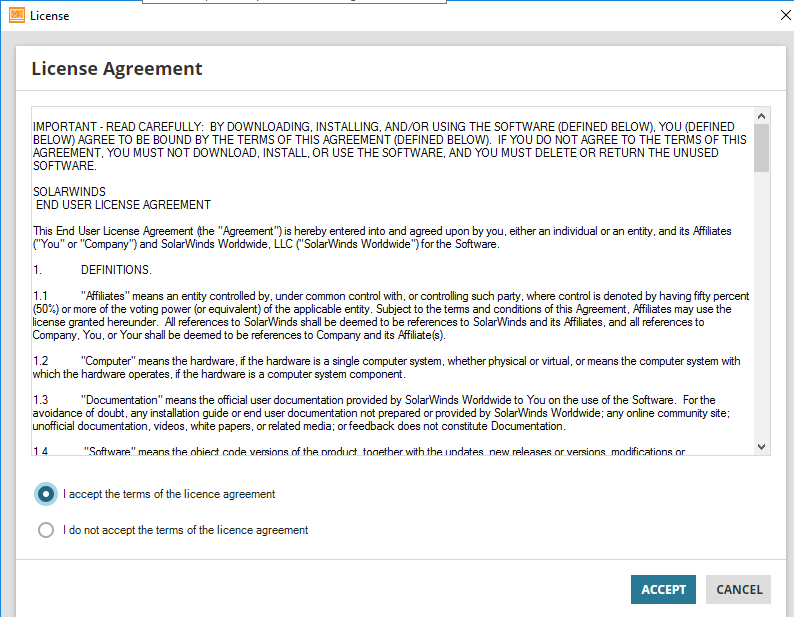
Tick I accept the terms of the license agreement and click ACCEPT
Key in the IP address range of the network connected by the target or hostname of the target if you know the hostname of the target’s PC, port range is required as well, then click SCAN on the bottom to begin scanning
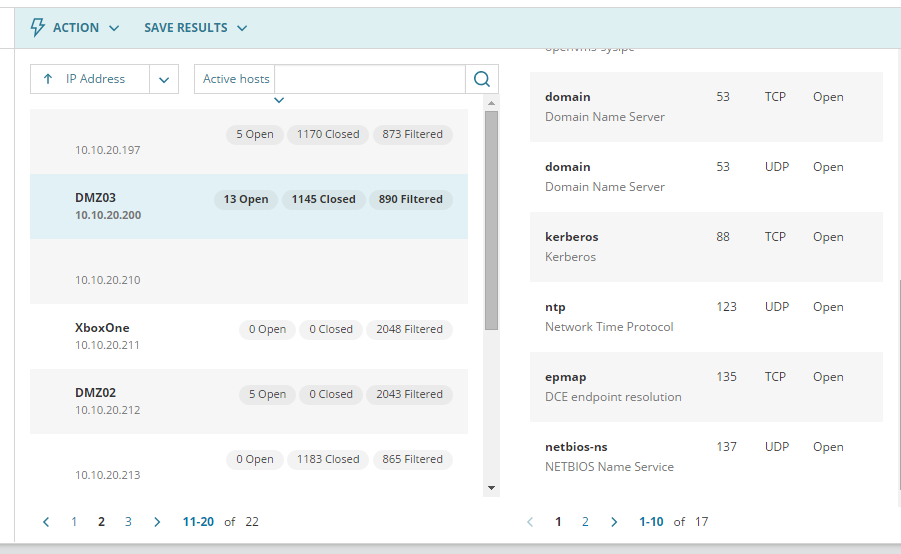
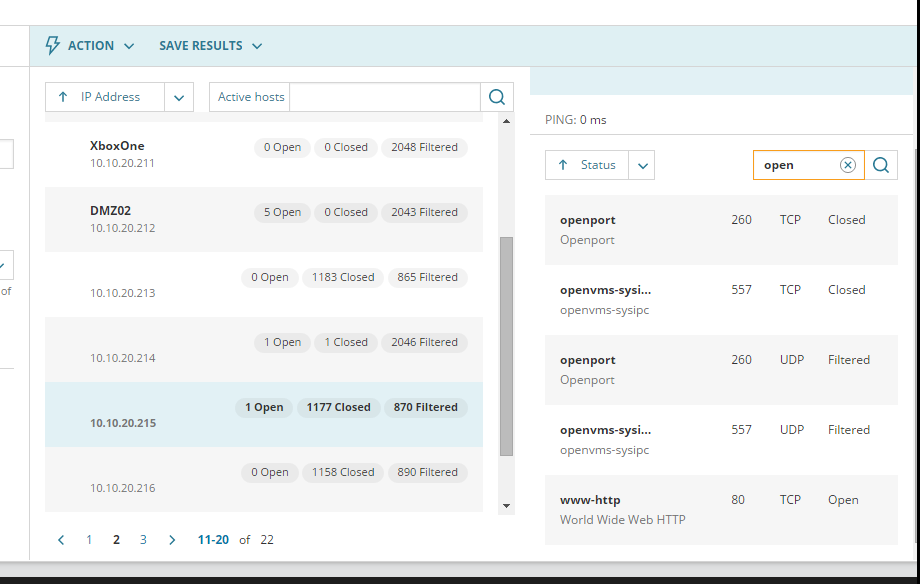
Select active host in the drop-down menu as highlighted in the picture shown above
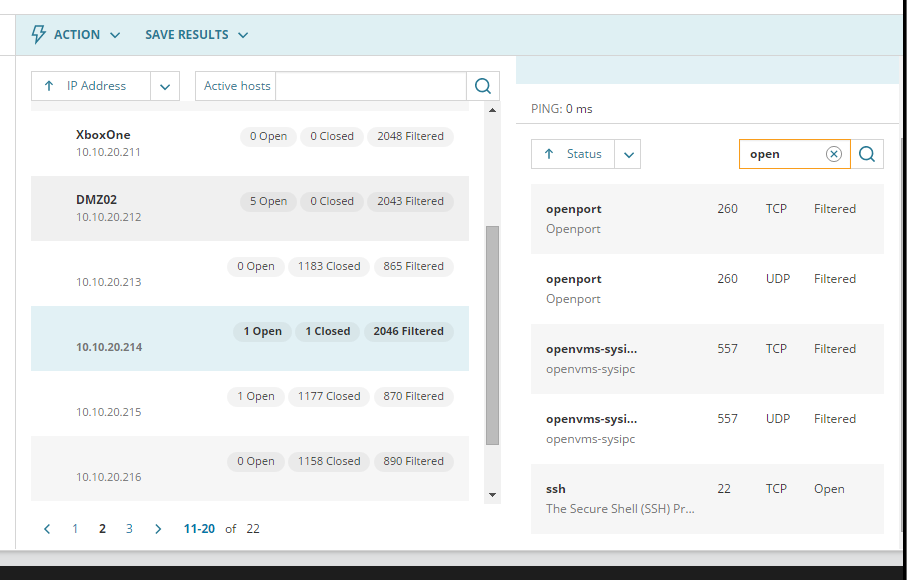
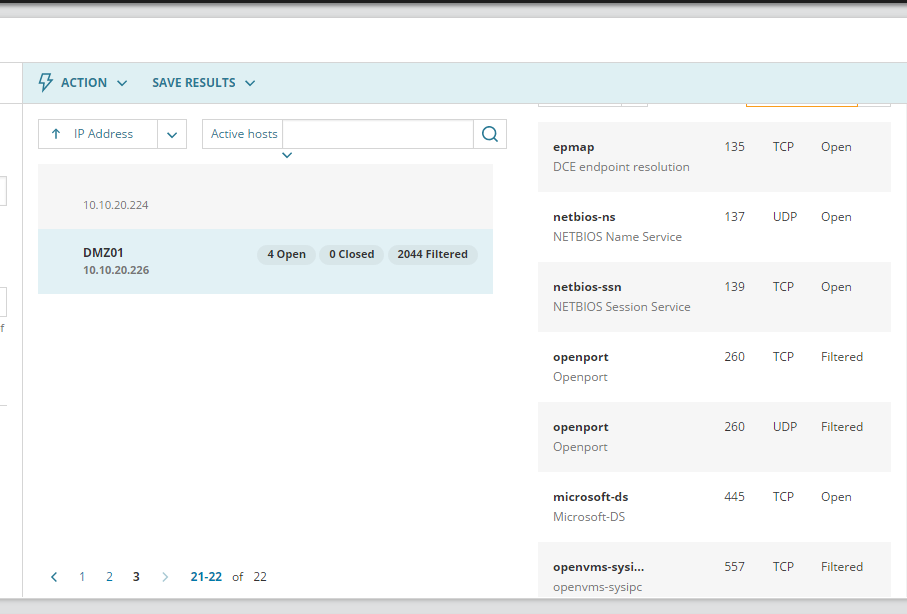
On your right you can see the hostname of the device scanned, as well as its open port
Port number, protocol and status are listed as well
Above are the active host with its respective hostname and open port based on my setup from previous post (feel free to check that out if you missed that)
LAN sweeper:
Open your web browser, search for LAN sweeper, click on the second result as shown in the picture.
Enter email address then click Download Lansweeper to start download lansweeper.
Wait for the download to be complete
Go to the email account which you have key in earlier at the lansweeper download page, you will noticed an email regarding unlock your installation, click on Grab Your Key.
It will direct you to a new page, copy the key as listed
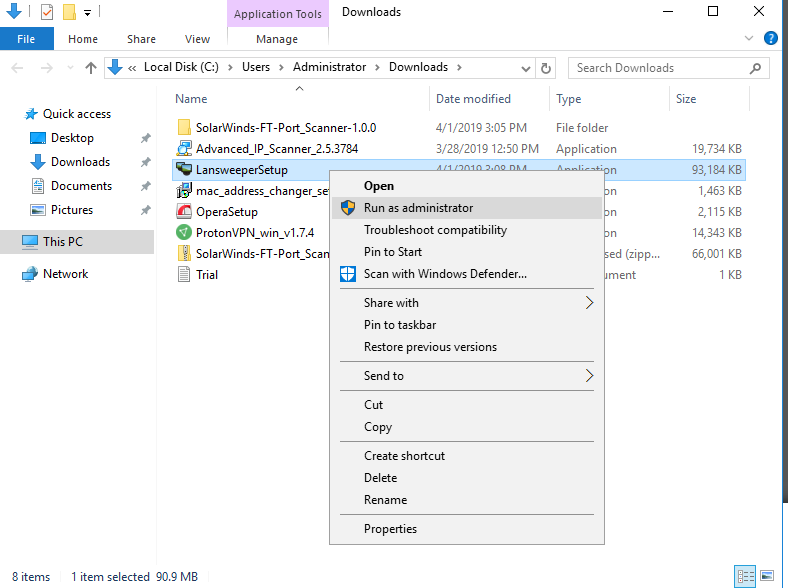
Right click on the downloaded LansweeperSetup application and click Run as administrator.
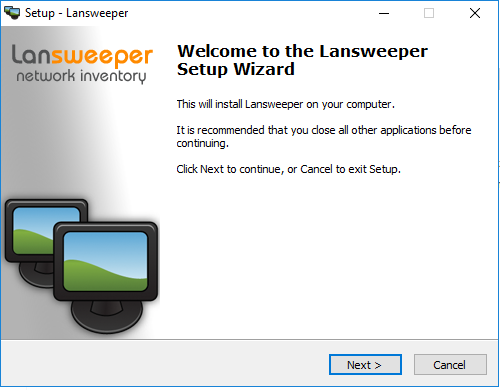
Click Next
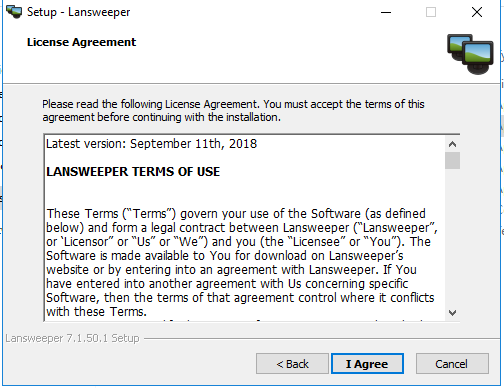
Click I Agree
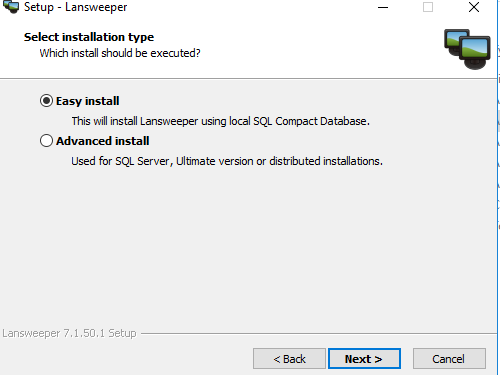
Tick easy install and click Next
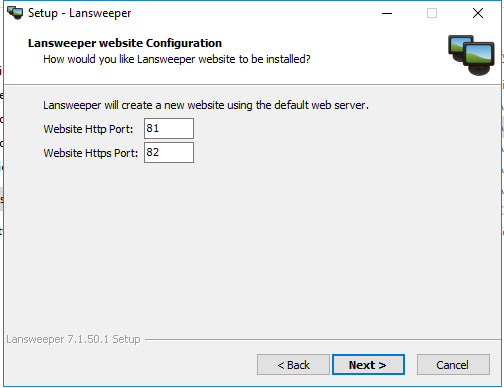
Click next
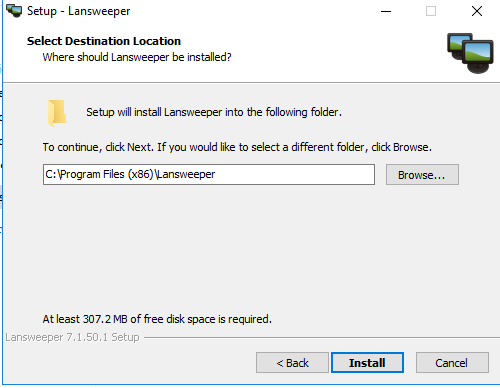
Click Install
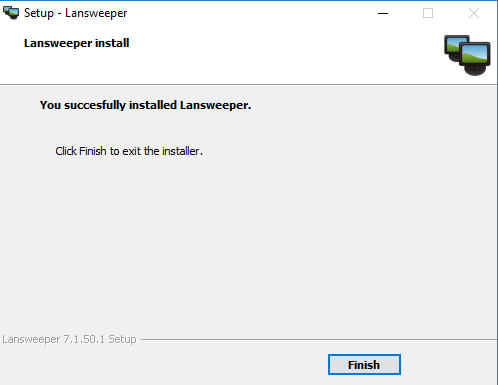
Click Finish
Launch the lansweeper
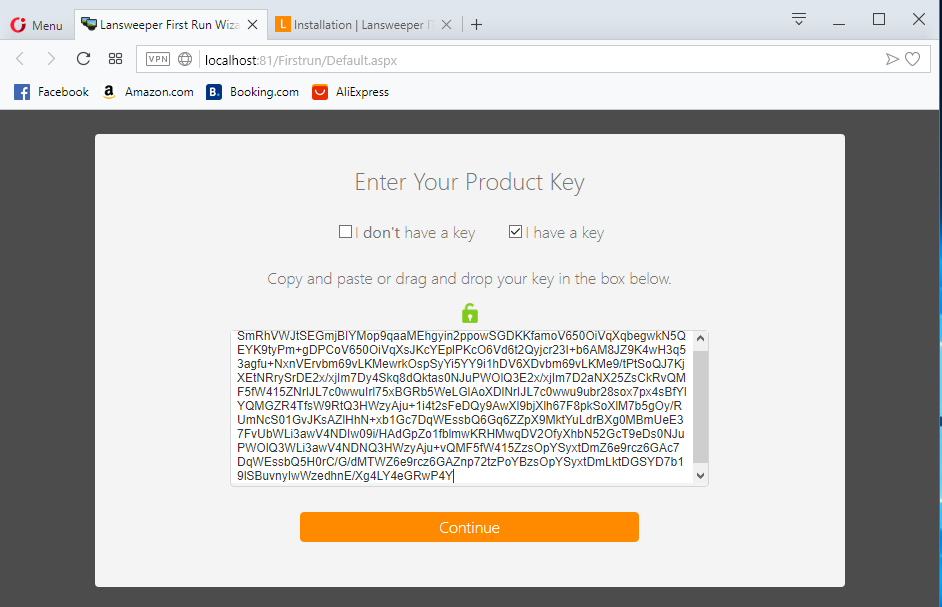
Tick I have a key and paste the product key which you have copied earlier.
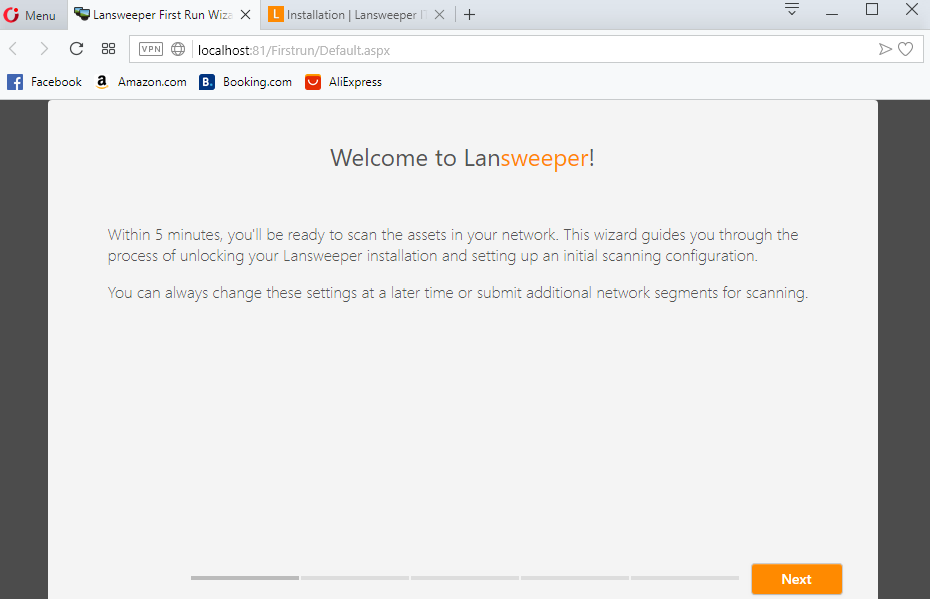
Click Next
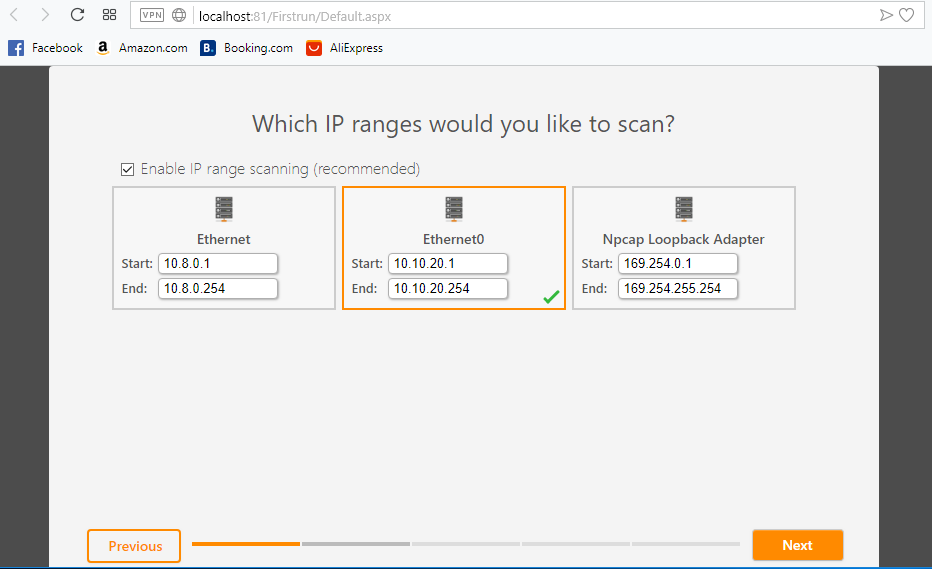
Key in the IP range based on your network interface then click Next
If you are unsure what kind of asset is under the network, just leave it as default and click next
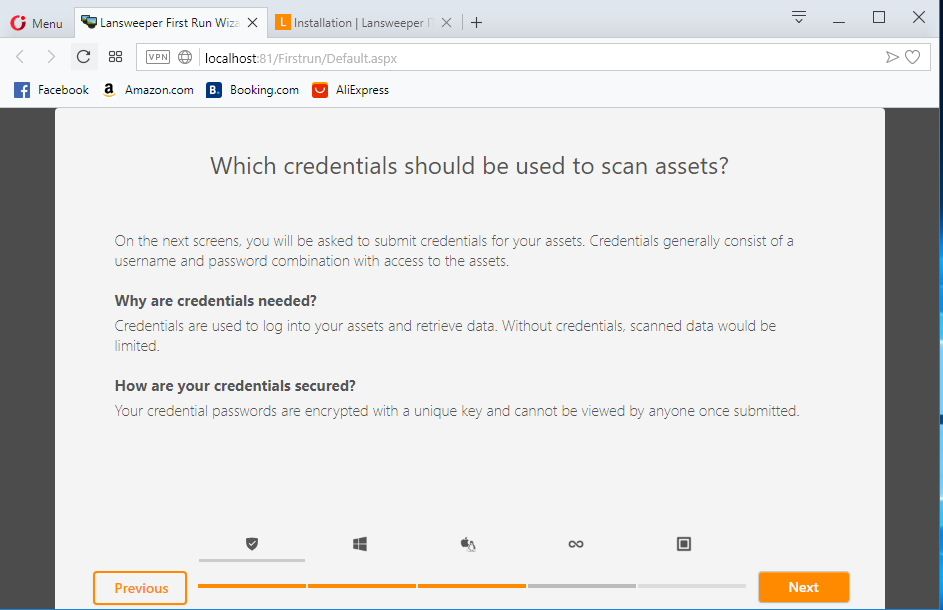
Click next
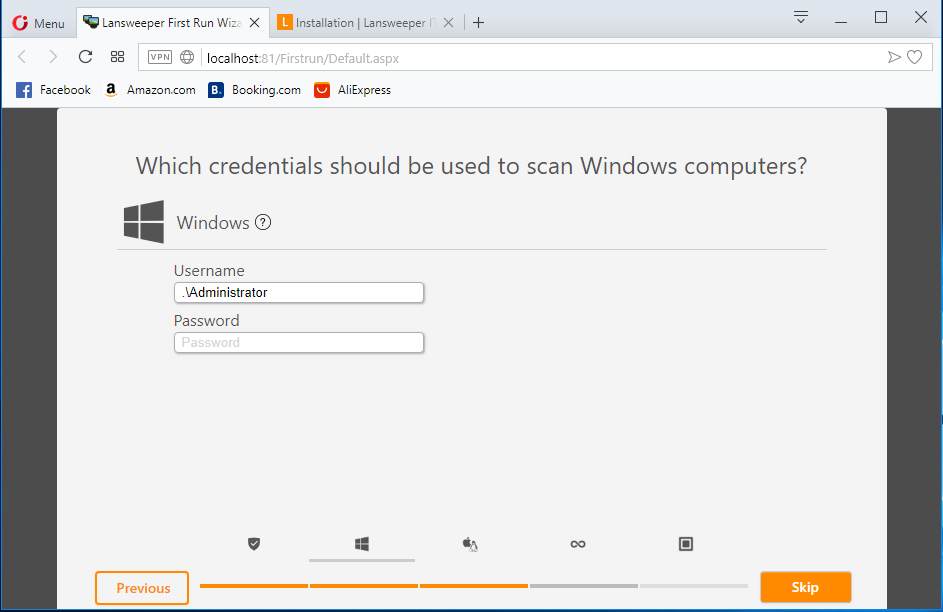
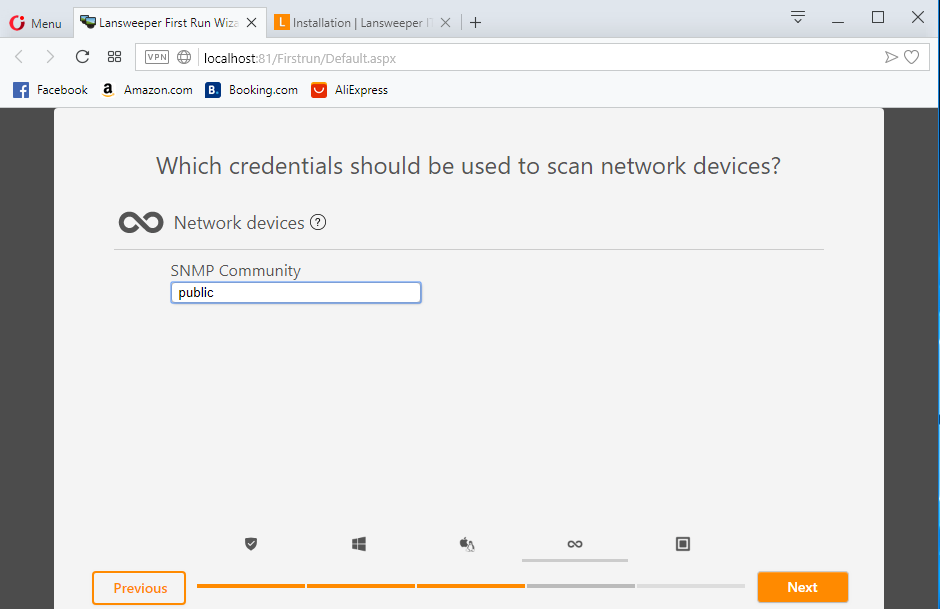
Key in the credential (local account), or you can just key in .\Administrator for windows computer then click skip
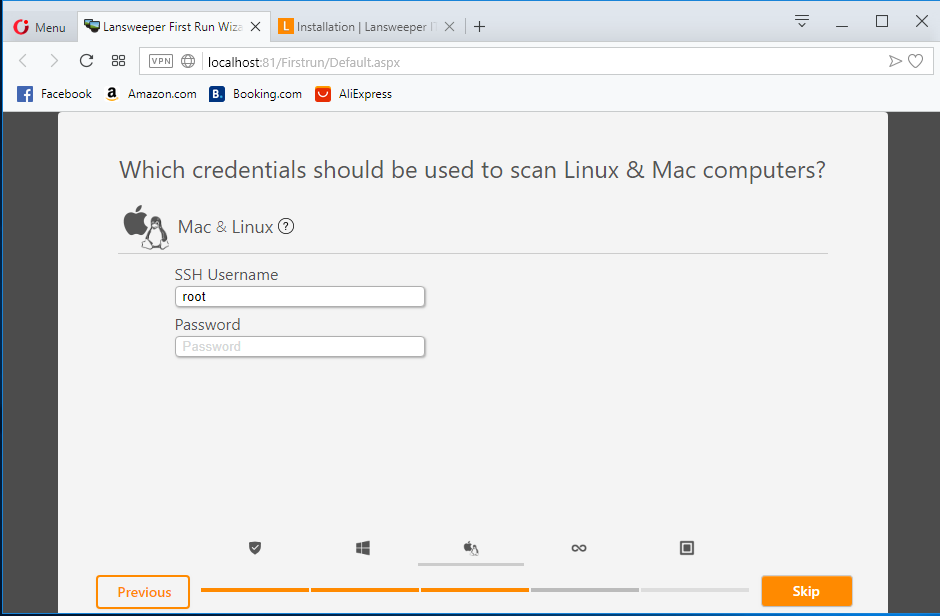
Key in root for linux computer then click skip
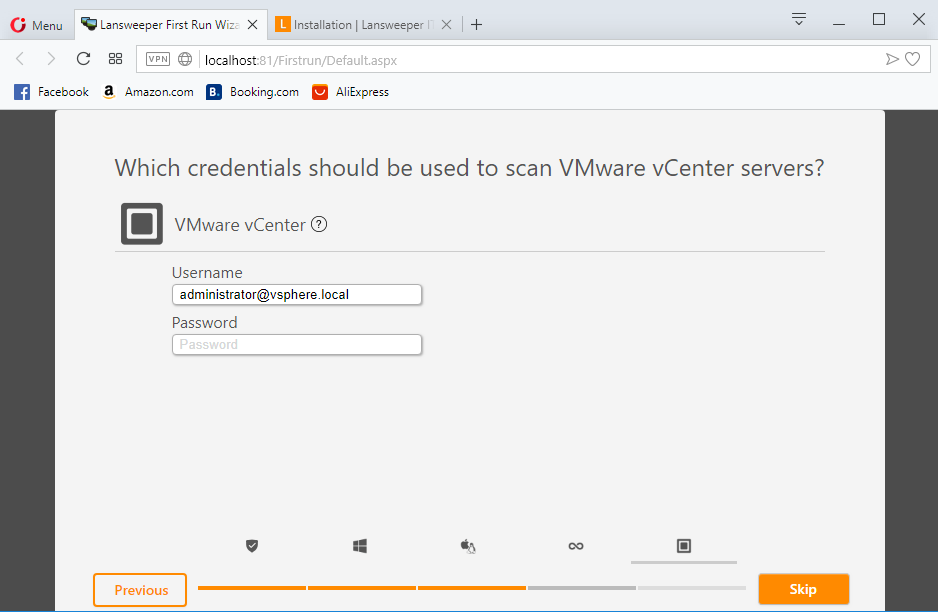
Click skip
0
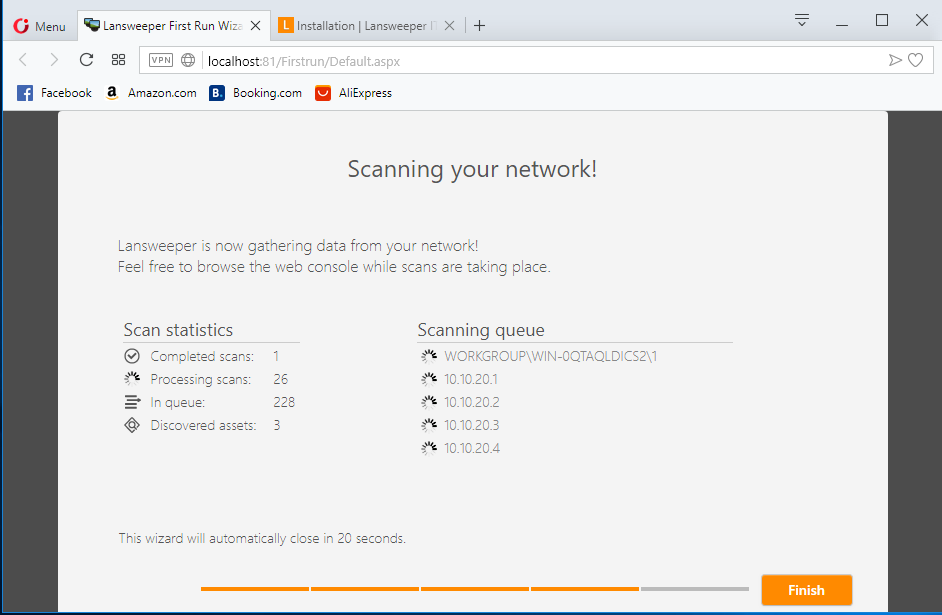
Scanning has started
Result can be seen on your right under Last seen asset tab
Hostname, domain name and IP address are listed in the result
On Kali Linux platform, we will use other tools to start perform scanning on the target.
Tools used in this post:
Zenmap
Sparta
Arp-scan
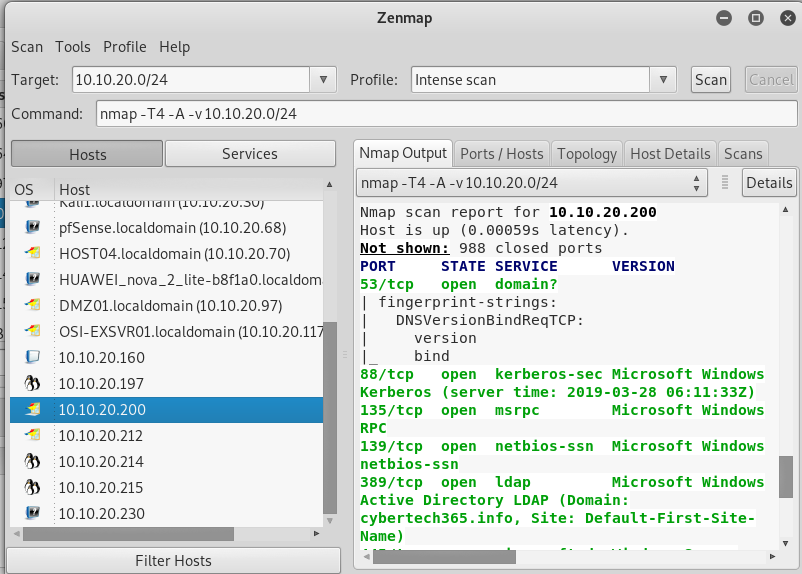
Key in the target (network or the target connect to follow by / and the subnet mask) in this case the target is connected under the network 10.10.20.0 and the subnet mask is 24. Click on Scan to start scanning.
When the scanning is complete, on your left you can see a lot of host listed under the host tab, click on any of them to view details information about it on your right. Details such as IP address and open port, protocol name could be gathered via this scan.
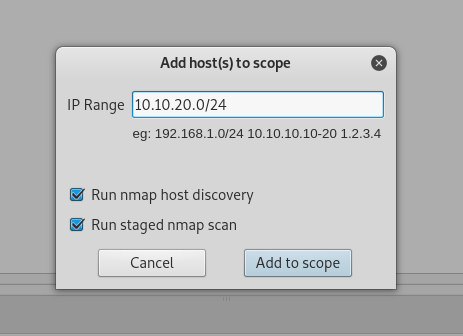
Key in the target (network or the target connect to follow by / and the subnet mask) in this case the target is connected under the network 10.10.20.0 and the subnet mask is 24. Click Add to scope
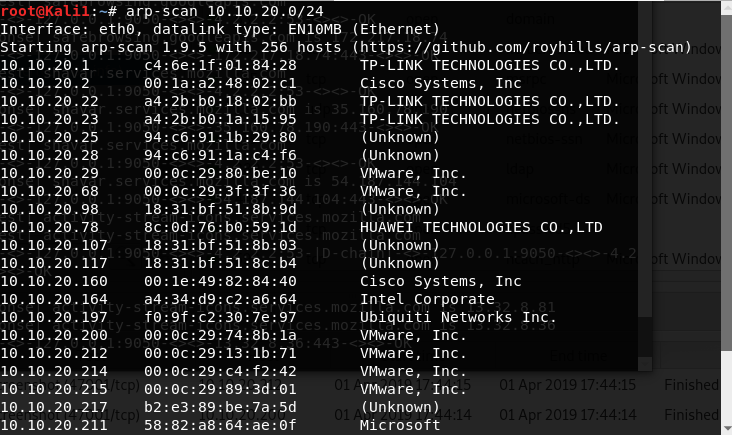
arp-scan
to show live host in the subnet




































Comments